 United States/English


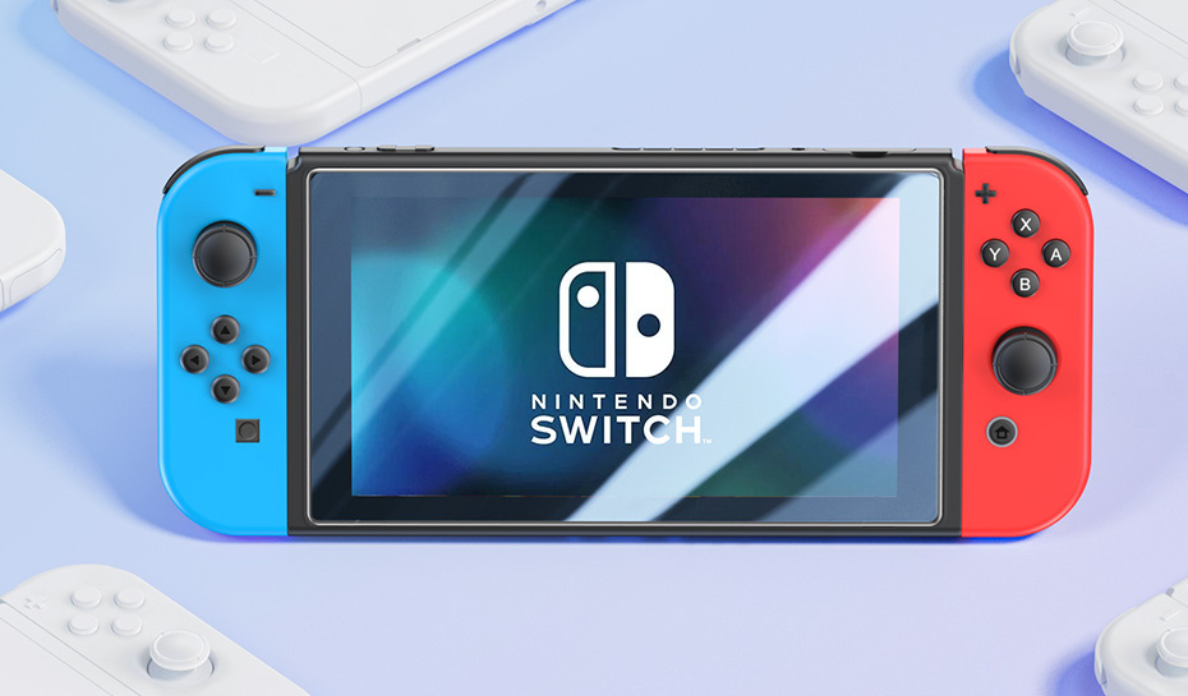

Picture this: you're on a roll, climbing to the top of Mount Everest in "The Legend of Zelda: Breath of the Wild," when suddenly, your Switch's battery plummets from 20% to 5%. Panic sets in as you frantically search for your Nintendo Switch charger and the nearest outlet.
Whew. Crisis averted. But that could have been so much worse (okay, maybe not that bad, but you get the picture).
If you're a Nintendo Switch owner looking to get the most out of your device, you may have heard that properly charging your console is key to keeping it running like a dream. Luckily, charging your Nintendo Switch is a breeze once you know how to do it right.
If you're unsure what "charging it right means," this guide is for you. We'll break down everything you need to know about charging your Switch, from the different charging options available to the best practices for keeping your battery healthy and the best charger for Nintendo Switch (which you can find right here...how convenient!).
So switch on that Switch and get to playin'. With these tips, you'll never run out of battery.
Nintendo Switch Charger vs. Phone Charger
Wait, can you charge a Switch with a phone charger?
Okay, first thing first. We've heard this question often, and technically, you can charge a Nintendo Switch with a phone charger. However, even though it's technically possible to charge your Switch with your phone charger, it's not the best idea if you want to keep your console in top shape.
Let's get nerdy for a second.
Phone chargers usually only output around 13 watts of power, drastically less than the 39 watts required by the Nintendo Switch. This means your console will have to work much harder to charge and might take longer to reach a full charge.
This extra work can be a bit too much for your Switch's battery, leading it to wear out quicker than it should. And let's face it, replacing that battery is not going to be a cheap fix (with some quotes estimating about $80-100).
So, while it might seem like a good idea in the moment, it's best to stick to the charger that came with your Nintendo Switch or another great Nintendo Switch charger from a third-party brand. It might not be as portable as your phone charger, but it's worth it to keep your console in tip-top shape.
How to Charge a Nintendo Switch
Before diving into how to charge a Nintendo Switch properly, let's clarify one thing: When people talk about "charging a Nintendo Switch," they're usually talking about charging the console itself. We'll provide instructions for charging your Nintendo Switch controllers in just a bit.
Now, let's get into the nitty-gritty. There are three ways to charge your Nintendo Switch:
- By inserting the console into the Nintendo Switch dock (note that this isn't an option if you're charging a Nintendo Switch Lite)
- By connecting an AC adapter directly to the console
- By using a Nintendo Switch adjustable charging stand (sold separately)
Once you've sorted your charging method, it's time to start juicing up your console. You'll know it's working when the battery icon at the top-right of the HOME Menu screen changes from an empty battery to a battery with a lightning bolt. Alternatively, if you've inserted the console into the charging dock, the TV output LED will come on briefly.
Keep an eye on that battery icon while you're charging. The icon will change to a full battery when your console has reached 100% charge. You can use this icon to check how much charge your console has remaining or touch it for more detailed information.
Want a pro tip? If you're connecting an AC adapter directly to the console, get a large power strip with tons of ports (even better if it offers fast charging capabilities!). Trust us; it'll help ensure you can continue charging other devices simultaneously without needing to disconnect anything for space.
How to Charge Nintendo Switch Controllers
So, your Nintendo Switch is charged, and now you're wondering how to charge those handy little Joy-Con controllers. Lucky for you, it's super easy as well!
Attach to Nintendo Switch Console
The first way you can charge your Nintendo Switch controllers is by attaching them to your Switch console while it's being charged. This is a two-for-one deal; your console and controllers will charge simultaneously. Plus, it's really convenient if you're short on outlets or on the go.
But what do you do if your console isn't being charged? No worries; your Joy-Con will still charge, but only if their battery level is low. The console is smart enough to stop charging the controllers at around 50% to save on battery life.
Now, let's say you want to charge your Joy-Con, but your console is turned off. In this case, the Joy-Con, unfortunately, won't charge if the console is turned off. You'll need to attach them while the console is turned on or in Sleep Mode to get your controllers charged up.
One last thing. If your console is inserted into a dock, your Joy-Con won't charge if the console is turned off. Just keep that in mind to ensure you're charging your controllers properly.
Attach to Joy-Con Charging Grip
Another way to charge your Joy-Cons is to connect an AC adapter directly to the charging grip. The adapter is included with your console and can easily be connected to the Nintendo Switch dock.
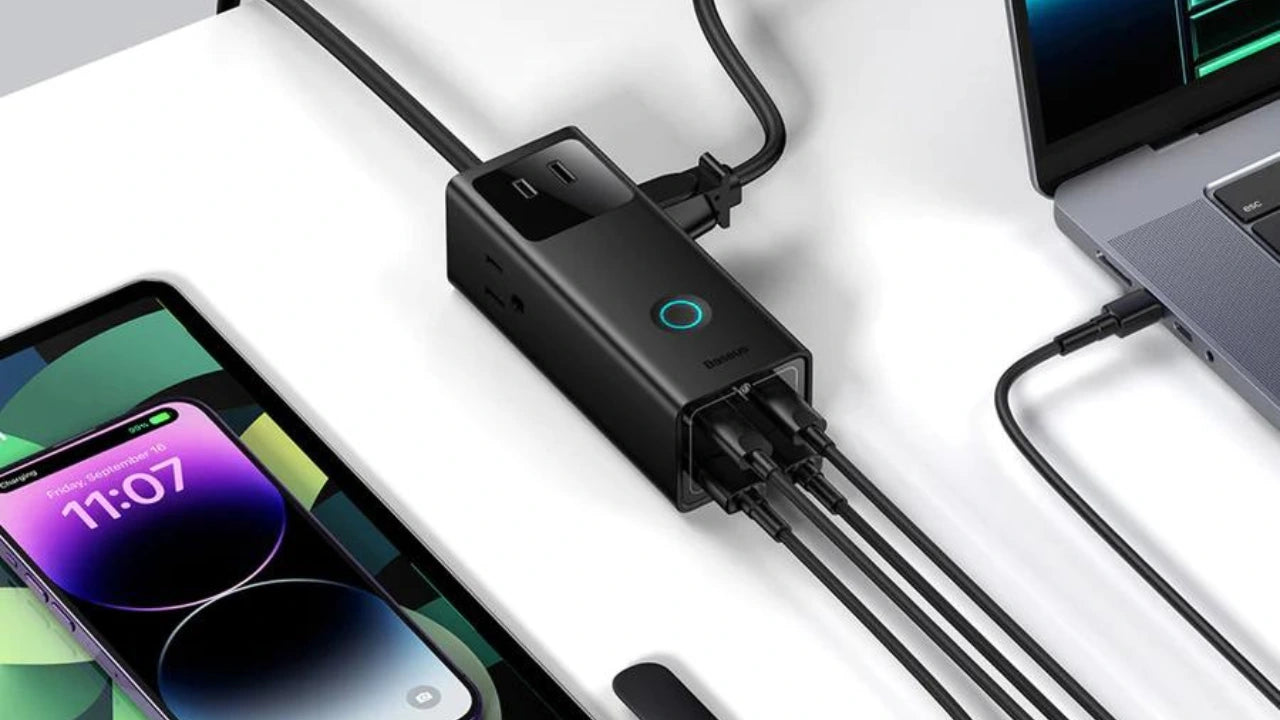
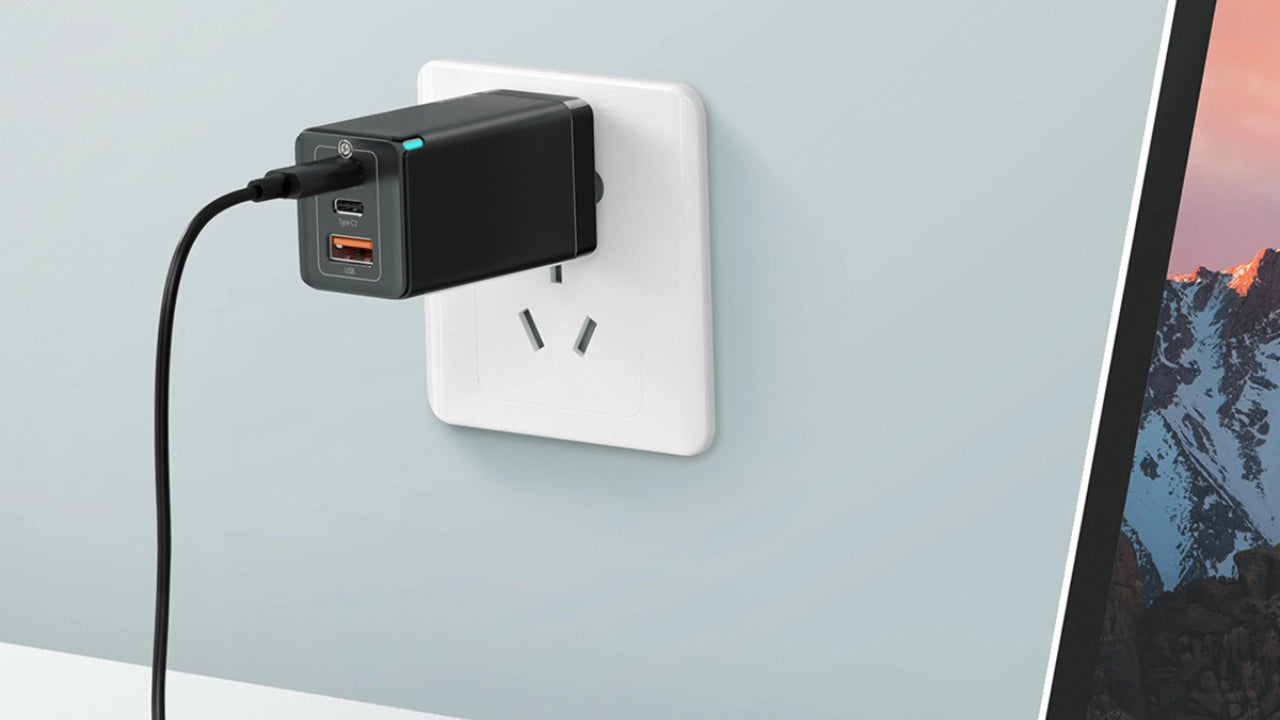
And if you don't have an AC adapter, you can always purchase one separately and connect it to the Nintendo Switch dock using a USB charging cable. In this case, a 30W dual-port USB-C fast wall charger with a USB-C and USB-A port for simultaneous fast charging is a great option, as you can use it to charge other devices simultaneously!
How Long Do Switch Controllers Take to Charge?
If you're anxiously waiting to jump back into your favorite Switch game after using one of the charging methods above, you might wonder how long it takes to charge those Joy-Con controllers. Nintendo recommends allowing up to 3.5 hours for a full charge, although most controllers should top off within three hours.
How Long Does a Switch Take to Charge?
The answer to this question depends on your charging method and whether you're using a fast-charging device like a power bank or not. But let's start with the basics.
If you're using the standard AC adapter with your Switch, charging time can take up to three hours. That's assuming your console is powered off or in sleep mode during charging. But if you're playing games or using the Switch while charging, expect charging time to take longer.
Now, if you want to speed up the charging process, try a few tips and tricks. First of all, invest in a fast-charging cable. This will not only cut down on charging time but will also improve overall performance.
Another tip is to put your Switch into airplane mode while charging. This will limit background processes and reduce battery drain, allowing for faster charging. You can also turn the console off completely while charging to ensure it's not using any power and speed up the charging process.
It's worth noting that the Switch's battery life can vary depending on usage. Playing graphically intense games or using features like rumble can drain the battery faster. But, with these charging tips, you should be able to get back to gaming in no time.
How to Tell If a Switch Is Charging
Alright, you just plugged in your Nintendo Switch to charge, and you're unsure if it's working. That's actually...a great question! How can you tell if your Switch is actually charging?
It's quite simple. When you plug in the power cable to the Type-C USB port, the Switch will display a little battery icon with a lightning bolt next to it. If you see these icons at the top of the screen, then ta-da...your Switch is charging properly!
However, if your Switch has been dead for a while, it might take some time for the icons to appear, so don't panic.
You might be thinking, "I see the light on; it must be charging!" Sorry to burst your bubble, but the LED indicator doesn't indicate the charging status (which is honestly a flaw in Nintendo's design). That little light is mainly there to inform you about other connections, like when you connect your JoyCons or put the Switch into TV mode.
So, if the LED indicator doesn't give you any indication, what else can you do to tell if your Switch is charging? Well, if you turn on the Switch while it's charging, you'll see the battery icon appear with an estimated time until full charge. Remember, this is just an estimate and can vary depending on how much power your Switch needs.
Another thing to remember is that the charging time can vary depending on how much power your Switch needs. If you're playing a game while your Switch is charging, that can slow down the charging process, so it's best to let it charge without using it if possible.
Maintaining Switch Battery Life
If you've used a Nintendo Switch before, you likely see how it's revolutionized how we play our favorite games on the go. Its portable design lets us take our gaming experience anywhere, whether on the train, at the park, or even in bed.
But with all this portability comes the need to keep your Switch's battery charged. While the Nintendo Switch charger options above are helpful, you can take several simple steps to ensure your Switch battery stays charged and ready to go whenever needed.
Use Airplane Mode
One of the simplest ways to conserve your Switch's battery life is to switch on Airplane mode when you're not using it to connect to the internet. This reduces the strain on the system and, as a result, extends its battery life. To turn on Airplane Mode, go to System Settings > Airplane Mode.
Charge Fully
It's essential to charge your Nintendo Switch fully before using it for the first time and after every gaming session. Once your Switch is fully charged, disconnect it from the charger so as not to overcharge the battery. Overcharging can damage your battery and shorten its lifespan.
Adjust Brightness Settings
Lowering the screen's brightness can make your battery last longer and be more comfortable to look at if you're playing in a dimly lit area. You can adjust the brightness of your Switch by going to System Settings > Screen Brightness.
Use the Right Charger
Lastly, we want to emphasize that using a charger not designed for your Switch could harm your battery or even damage your system. Nintendo recommends using the official charger with your system or purchasing a license.
However, other types of chargers for Nintendo Switches aren't necessarily "bad" for your console. Simply ensure you're purchasing from a qualified vendor and that the Nintendo Switch charging gear is compatible with your Switch.
Typically, this means you can use any high-quality USC-C chargers and cables as an alternative way to charge your Nintendo Switch. As mentioned, the Baseus Super Si Pro Dual Port Fast Charger 30W is a great option as it features a USB-C and a USB-A port, which offers simultaneous fast charging for your Nintendo Switch and another device.
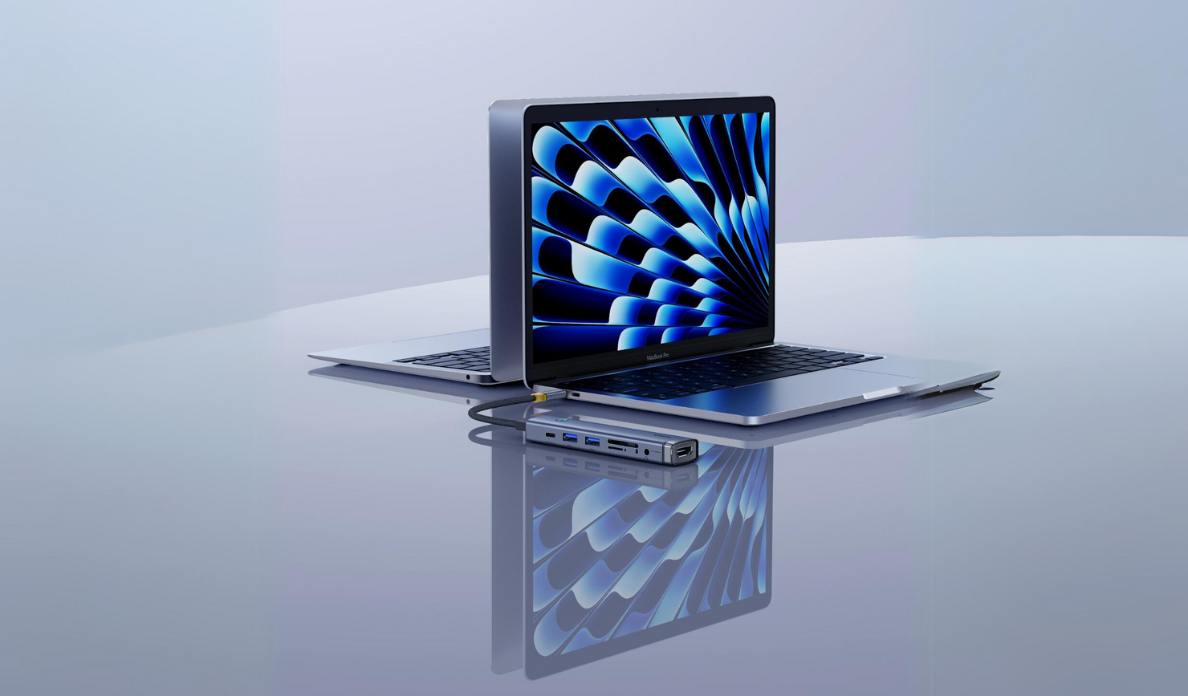
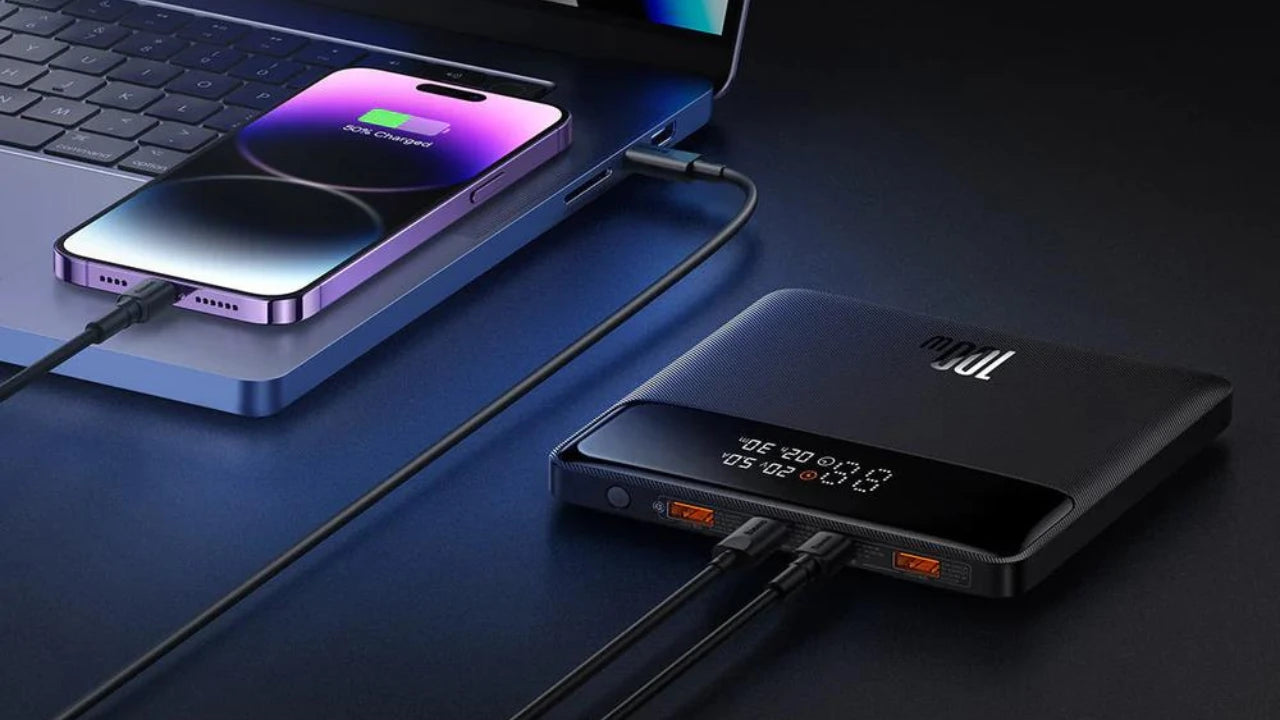
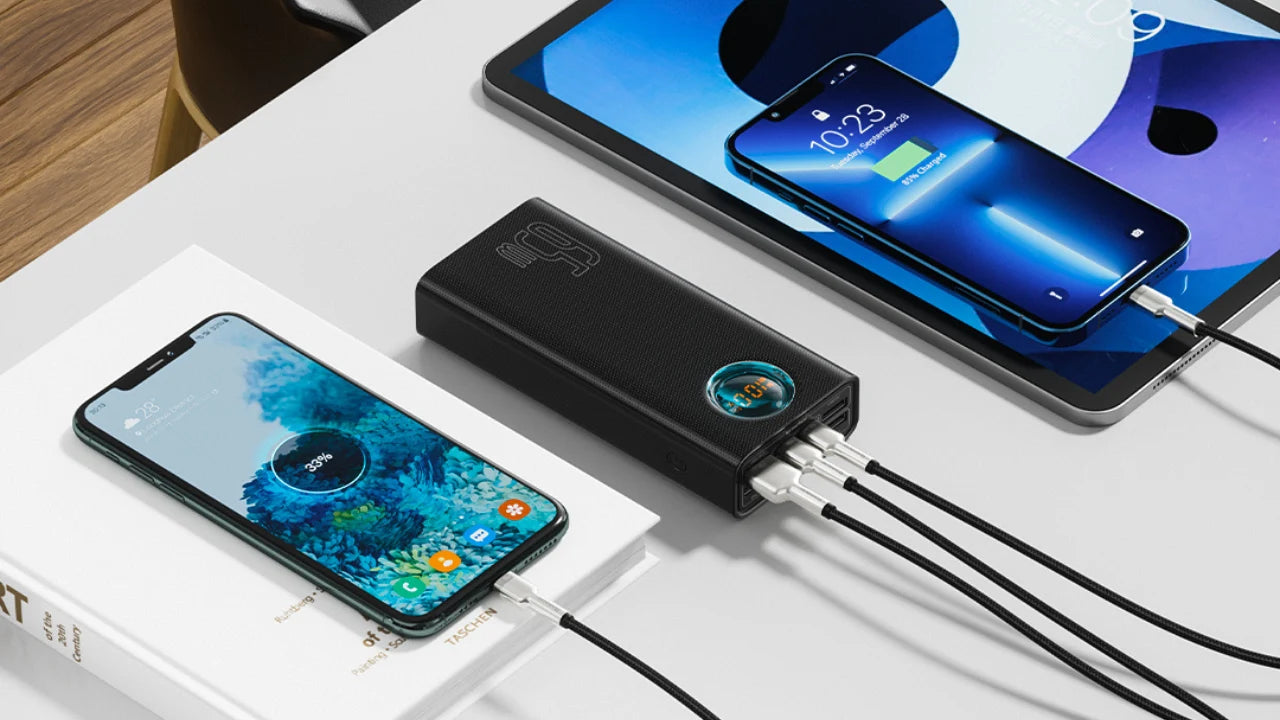
If you've got nowhere to plug that charger into, purchase a larger power strip so you have more plugs to use, or invest in a power bank like the Baseus Amblight Power Bank 65W 30000mAh. With five ports and enough power to charge a 13" MacBook Pro from 0 to 50% within an hour, it can charge your Nintendo Switch quickly (and with ease!).
Get Nintendo Switch Charging Gear
Now that you know how to charge a Nintendo Switch properly, you'll never have to cut your gaming sessions short because of a dead battery.
And don't worry; you don't need to break the bank with an official Nintendo Switch charger to enjoy pro-level gameplay. Our charging cables and other charging products are just as effective and affordable.
Browse our charging accessories and level up your gaming experience today!